
Depicting Cannaregio in Watercolour
Depicting Cannaregio in Watercolour. Turn photographs of this authentic district of Venice into beautiful AI generated artworks.
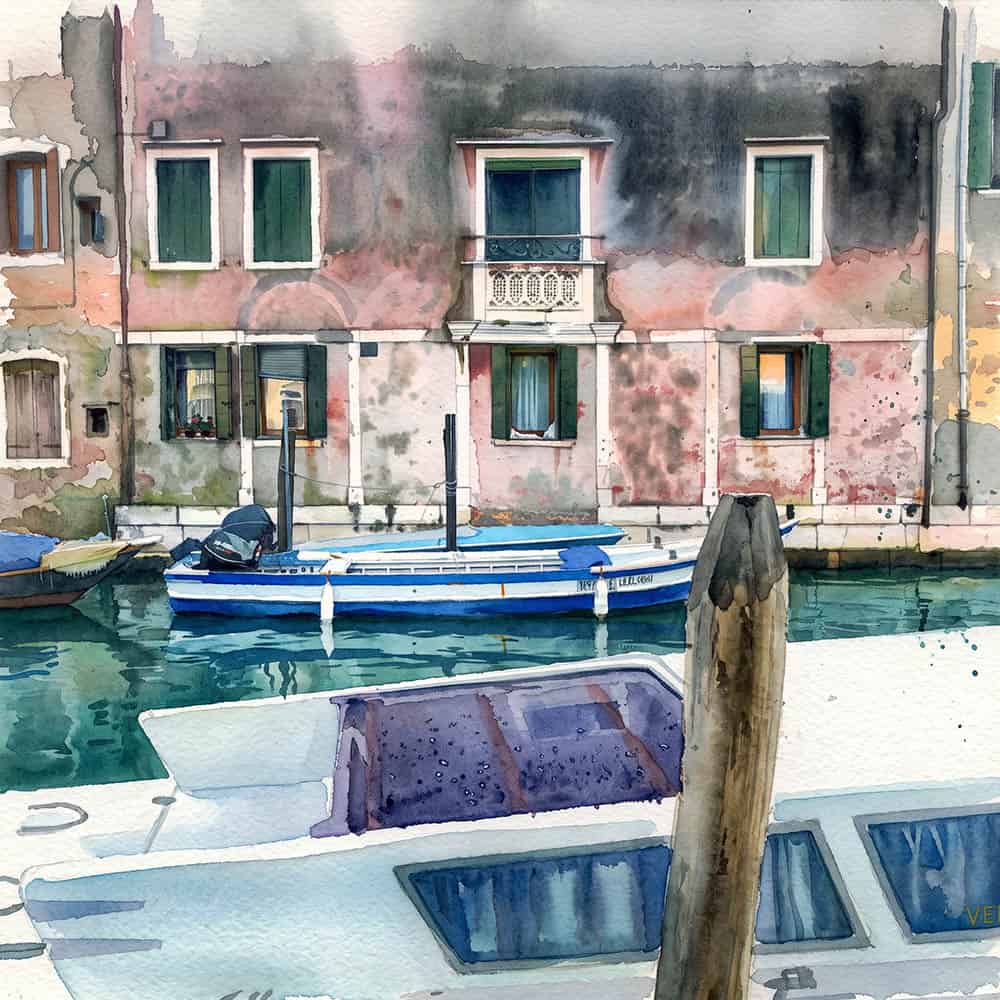
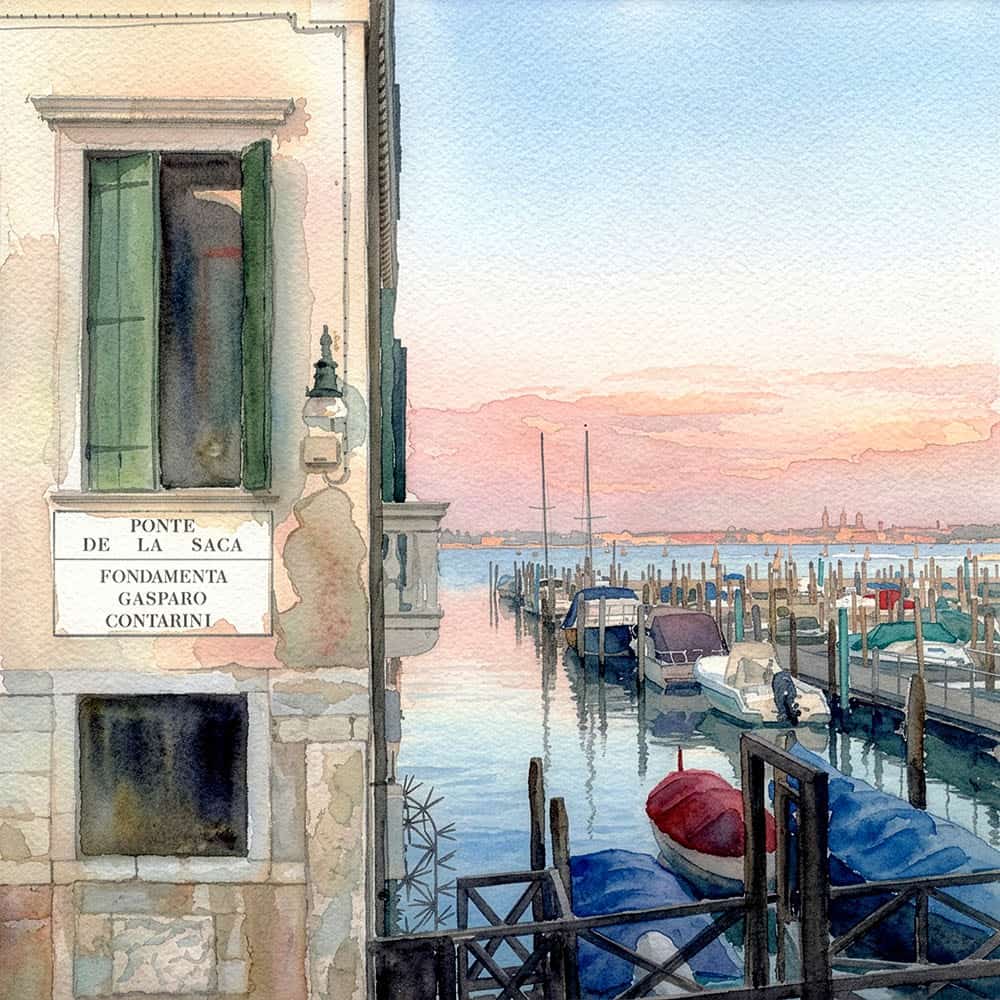
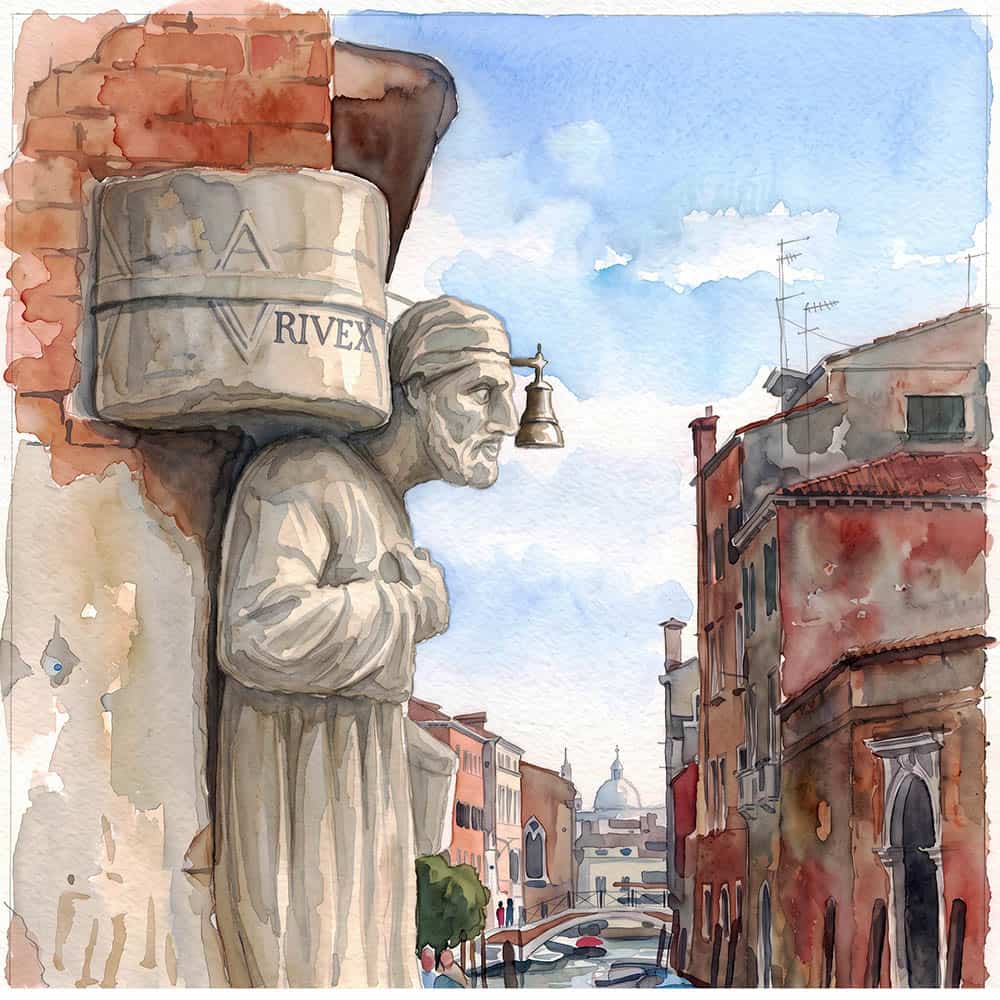
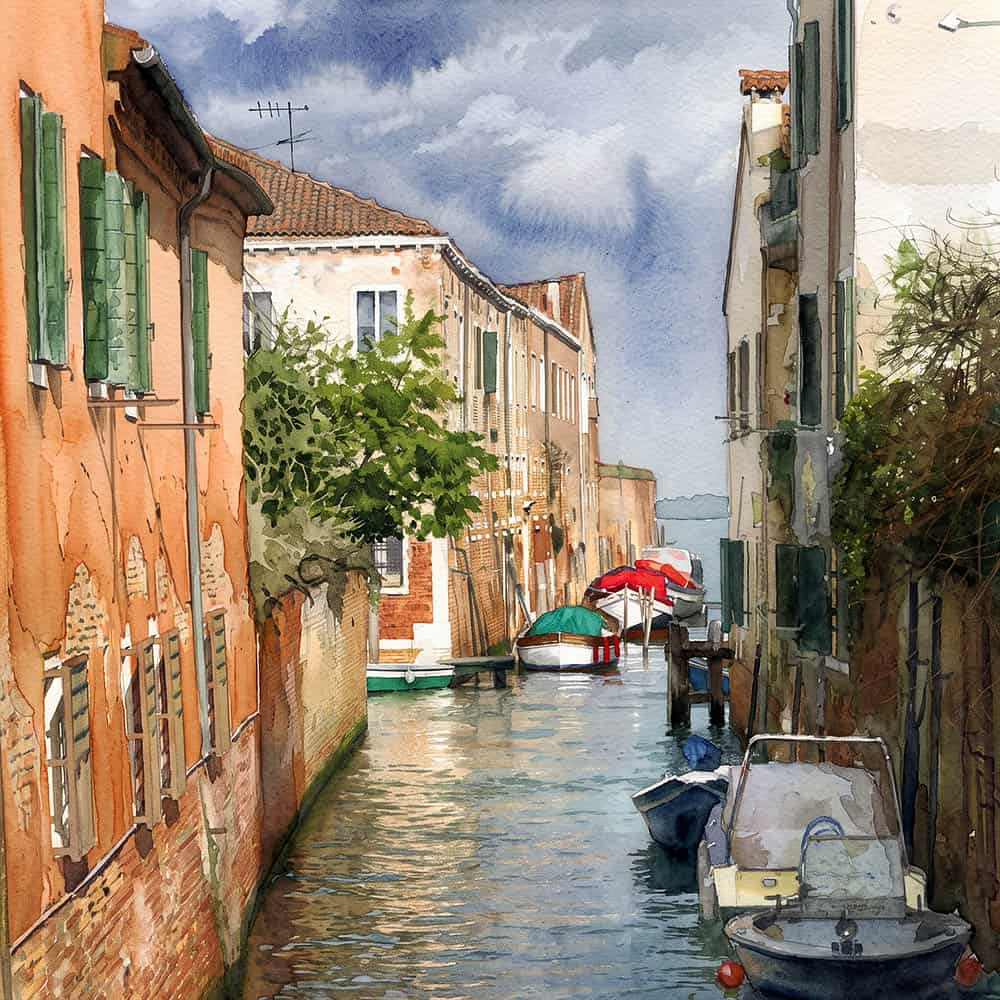
Discover new techniques, spark your creativity, and immerse yourself in the timeless charm of one of Venice’s most authentic and atmospheric districts through blending digital innovation with traditional photographic artistry.
Using Firefly AI generative software built directly into Photoshop, it transforms from a traditional image editor into an AI-assisted creative studio. This technology allows users to generate, extend, replace, and edit image content using simple text prompts; while retaining Photoshop’s professional layer-based workflow. It is designed to speed up repetitive editing tasks, while giving artists and designers creative control.
Since first visiting Venice in the mid-1970s, I’ve built up a significant collection of traditional photography and so, after 50 years, it was time to “bite the AI bullet”!
My goal was simple and threefold – to explore whether this recently introduced software could create watercolour-style artwork, worth the effort and further investigation! To investigate whether this generative software could be produce results with enough consistancy, that a body of work could appear to be from “the hand of the same artist”. Finally, can these hybrid watercolour-style images, add to the charm of this beautiful and atmospheric district of Cannaregio?
For my initial experiments, only Firefly’s “Generative Fill” tool was used, paired with very simple command prompts. Except for 2x upsampling in Firefly, the only additional processing done in Photoshop, were minor adjustment changes (density and contrast), to give the impression that the whole set of images were from the “same hand of the artist”.
Surprised and fascinated by my early foray into AI generation, one has to conclude that it’s fun, quite addictive, and certainly adds a new dimension to photography. These AI generated watercolours, certainly are attractive and have a real “sense of life” to them.
See and judge for yourself! Perhaps these early ventures into AI regeneration, will inspire you to give it a try. If you’re not a Photoshop user, a range of alternative “free use” sites is given In the “Links Section” below.
Introduction to Cannaregio
Cannaregio is the northernmost and the second largest district of the city of Venice. It also has the largest population, of around 11,000 people,
However, unlike the crowded tourist hubs of San Marco, Northern Cannaregio retains a peaceful and distinct authentic atmosphere; with quiet canals, artisan shops, and traditional osterias. In contrast, running along the southern boundary and behind the Grand Canal is the bustling and wide Strada Nova, offering a quick walking route from the Railway Station to the Rialto bridge.
The district may well have taken its name from the Canal Regio (Regal Canal), which fed into the Grand Canal and was the main entrance for visitors to Venice, before the construction of a railway link into Venice in 1846. Others claim it was once known as “Cannarecium”, from its numerous marshy reed beds.
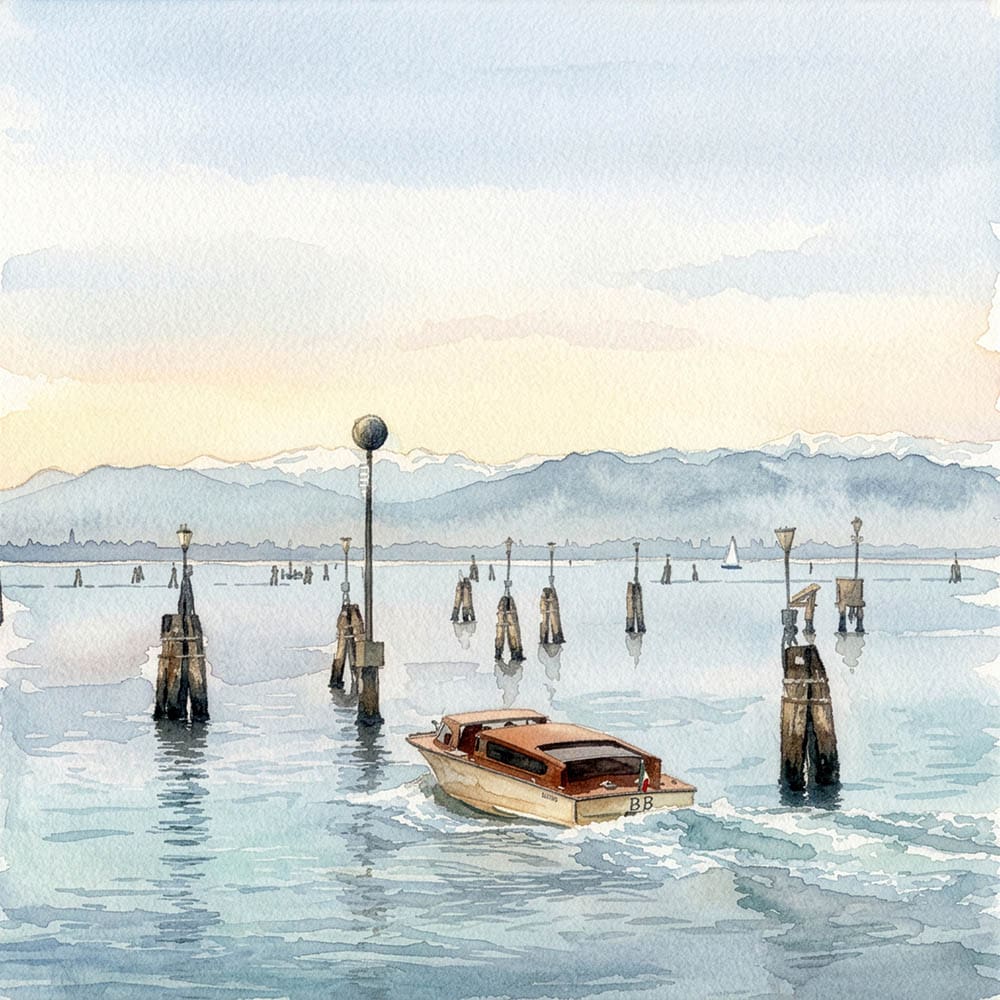
Cannaregio offers wonderful photographic opportunities – it’s three parallel canal systems and fondamente running east-west, are especially magical during sunsets and early morning mists. From the north coast’s Fondamenta Nuove, there are spectular views across the lagoon to Venice’s cemetery island, “Isola di San Michele”, the numerous fascinating navigation pole systems and views across the Venetia plain, to the far-off Dolomite mountains.
Perfect for travellers seeking a more genuine Venetian experience, Cannaregio combines rich heritage with everyday life, making it a must-visit destination in Venice.
Depicting Cannaregio in Watercolour Depicting Cannaregio in Watercolour Depicting Cannaregio in Watercolour
Brief Technical Notes for Depicting Cannaregio in Watercolour
My goal was simple – to see if this new software could produce painterly, watercolor-style artwork that was worth the effort and further exploration. It’s a complex program, with Firefly’s “Generative Fill” being just one of many advanced tools, so it’s best to keep things simple and consistent while learning. It runs on a subscription model, and credits can disappear quickly! I also wanted to inspire others to give it a try for themselves.
Following-on from my initial experimentation, for this post only Firefly’s “Generative Fill” tool was again used. Photographs, selected from my online website galleries, were made at 1000 pixels on their longest side. All images were 2x upsampled which is a simple “zero-credits” command, in the generative fill page. This appears to produces a sharper and a surprisingly improved image quality. It would also allow a reasonable quality A4 sized jpg print, at the optimal 260 dpi resolution to be made. Textured matt digital fine art papers, are especially suitable here, mimicking the watercolour paper artists use.
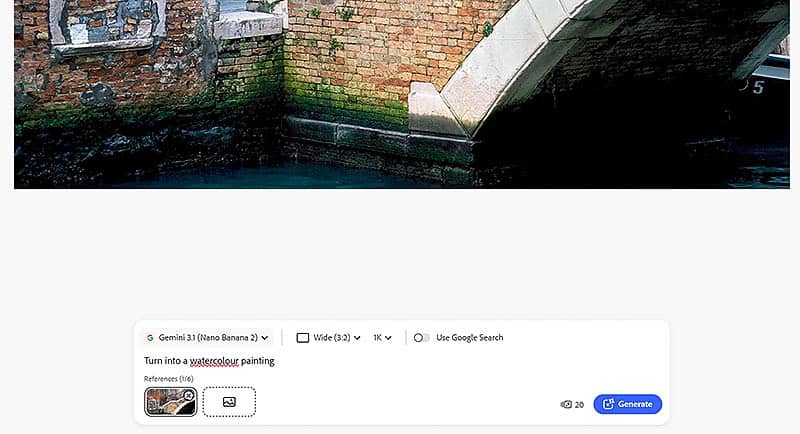
Below is a part screenshot of the Firefly software interface with a photo loaded. I used the Gemini 3.1 (Nano Banana 2) setting, throughout my experimentation. At the bottom right of the screenshot, this uses 20 credits (other settings use less or more credits and you will get different effects). Next you check that the software has correctly set the format to match the photograph. Following this, set the Resolution box, between 1to 4K.
Note wrt the resolution box setting. The setting does not magically improve an image that is already low resolution. It mainly affects the resolution and detail of the new pixels Firefly creates. If you’re filling a small selection, a 4K generation may provide little visible benefit over 1K. As a rule of thumb: Social media, web, concept art: 1K – General Photoshop work: 2K – Print, professional retouching, large canvases: 4K. I set it at 1K.
I paired it with very simple command prompts – in this case simply “turn into a watercolour painting”. You can then press the “Generate” button and wait for the result – roughly 20 seconds in my case.
Aside from 2x upsampling in Firefly (credit free), the only other processing in Photoshop involved minor adjustments to image density and contrast, aiming to create a consistent look, and give the impression that the set of images presented below, came from the same artist’s hand. My goal was to keep things simple, both for my own learning curve and to inspire others to give it a try themselves.
Initial Thoughts. Surprised and intrigued by these first experiments, I have to say it’s fun, a bit addictive, and creating “watercolour-style” AI-generated painterly images definitely brings a fresh new dimension to photography.
One thing’s for sure: the quality of your original photograph – composition, lighting, mood and atmosphere, will play a big role in how successful and realistic your conversions turn out.
Even when you standardize your procedure to keep it simple, it’s often tricky to predict how each photographic conversion will turn out. In the beginning, it’s definitely a “try it and see” process and an “uphill” learning-curve. At first, the software seemed to have a mind of its own – using the same command “turn it into a watercolour painting,” it might frame and mount the image one time, and not the next. Sometimes the image was hard cropped, other times it had more paper base around the edges. I tried adding the extra command “no frame” for a while. Strangely, with more use, the conversions seem to have settled down and become more consistent. One trick worth trying, is uploading a square photo and generating with a 3-2 or wider format setting. The software does an amazing job of filling in “space”, often creating a more pleasing watercolour effect than the square format generation, and frequently giving more “watercolour” edge effects.
These AI watercolor hybrids maintain a fair degree of photographic realism, particularly in preserving the original sense of depth. Traditional watercolour paintings often tend to have a flatter perspective, but especially the structural details of buildings, seem to retain more of the photographic base, compared to other areas like the sky or water. Adding a command for “extra texture in the buildings” didn’t seem to noticeably improve the result.
One standout feature is their ability to significantly enhance dark areas and shadow details, often lifting them into mid-tones. This creates a both a well-balanced overall effect and a more “airy” feel, that communicates the image’s intent clearly. The eye doesn’t need to wander – its impression is delivered all at once.
Ultimately, the benefits of this AI-watercolour conversion allows you to achieve artistic simplification, enhanced colour harmony, softer edges, painterly brush textures, and a delightful sense of paper texture.
Note. If you’re not a Photoshop user, a range of alternative “free use” sites is given In the “Links Section” below. AI-Generated photography is becoming commonplace – this post offers a link below to my first foray into AI, that also covers: 1. Details about Firefly AI software and a summary of its main features. 2. The ethical concerns and frameworks surrounding the use of AI in photography. As AI continues to advance, these frameworks will likely focus even more on transparency, disclosure, provenance, verification, and accountability to maintain trust in what we see and believe.
Depicting Cannaregio in Watercolour Depicting Cannaregio in Watercolour Depicting Cannaregio in Watercolour
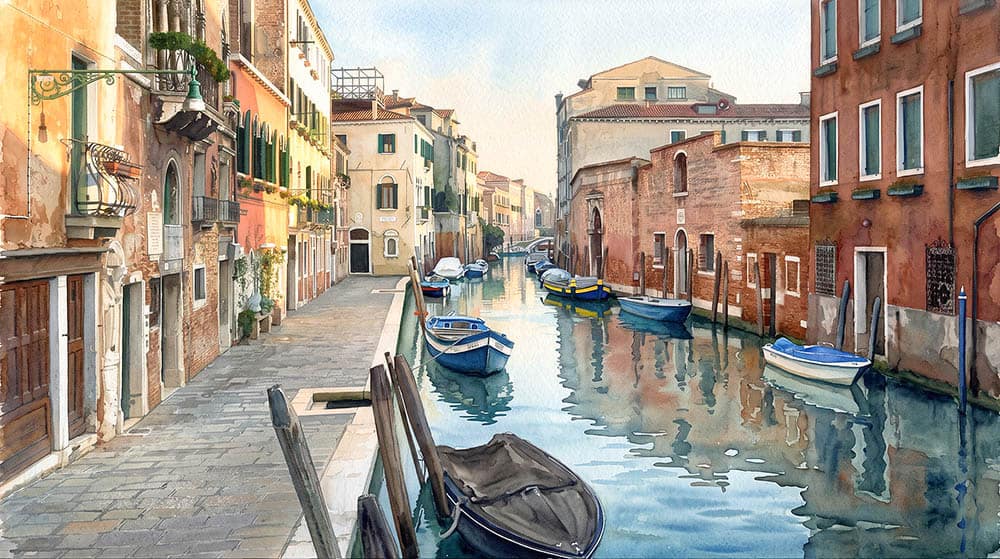
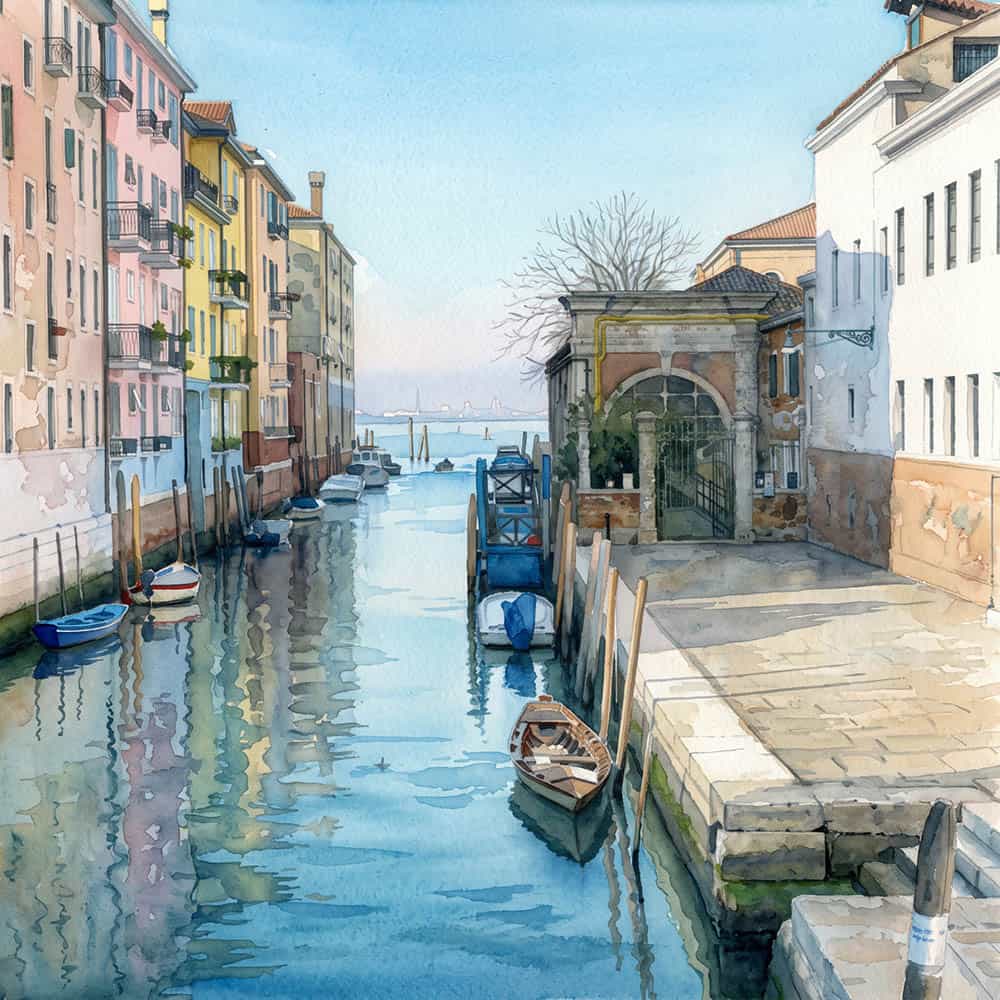
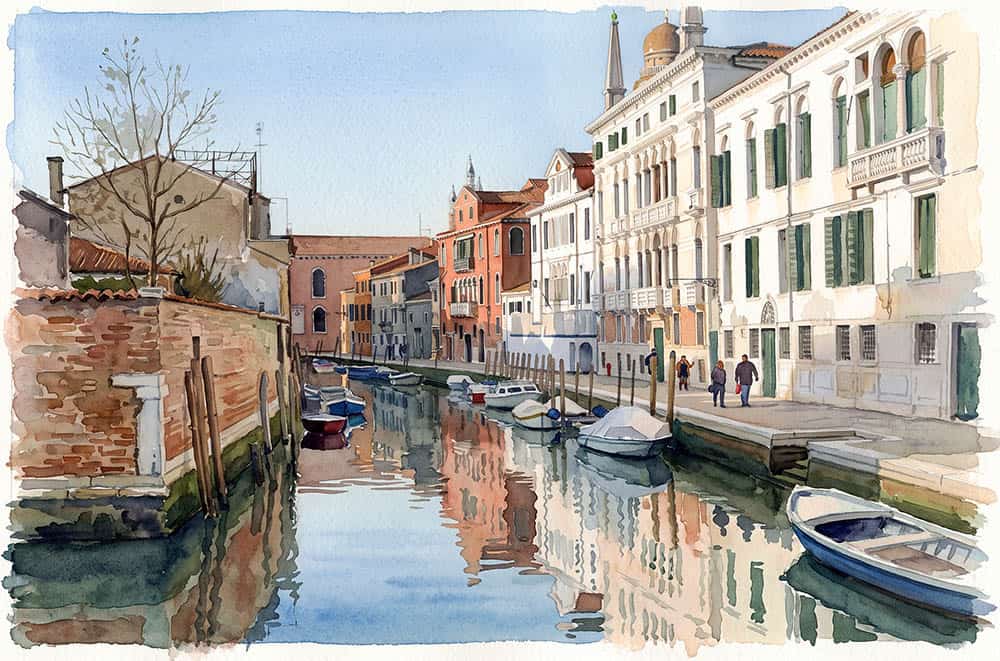
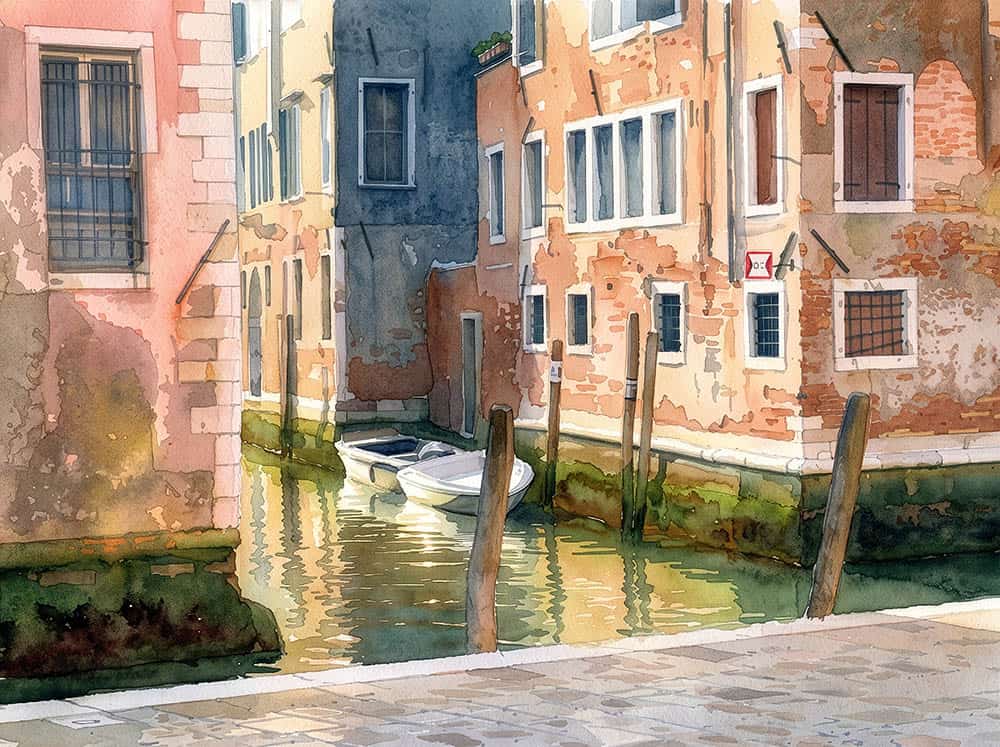
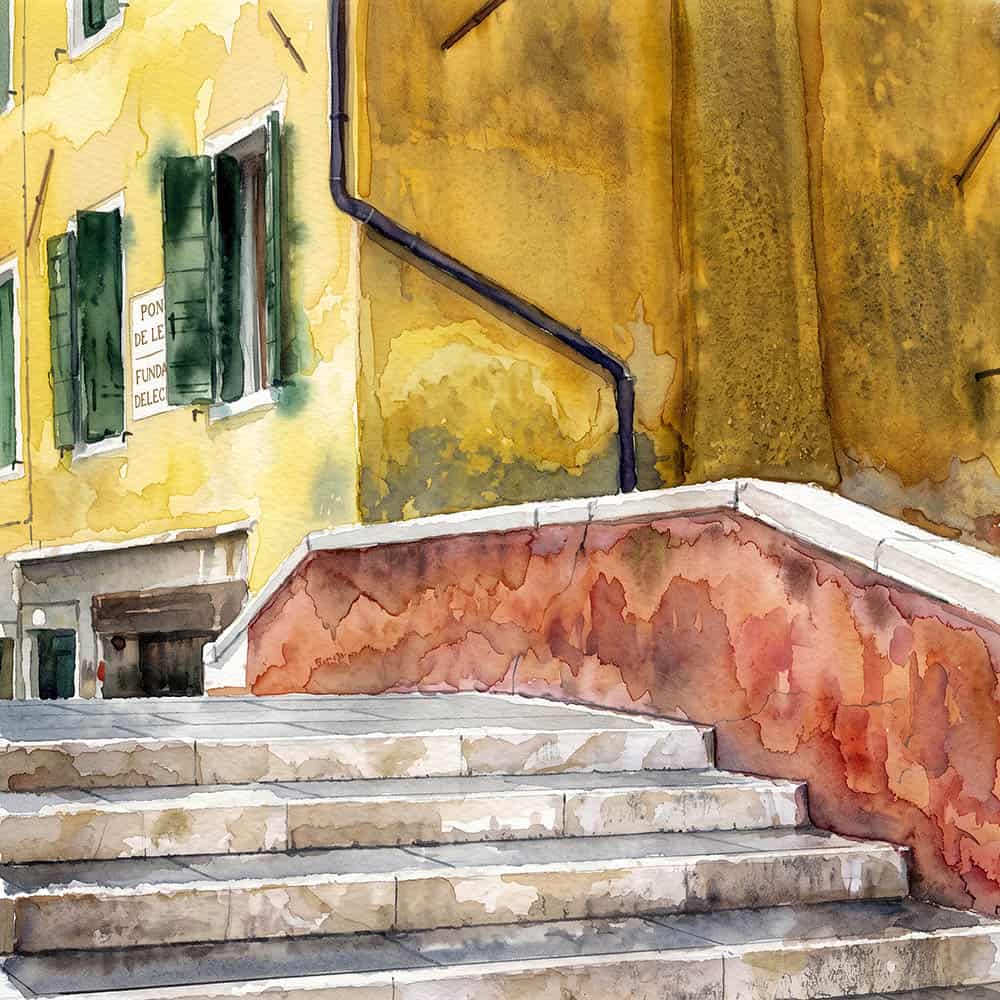
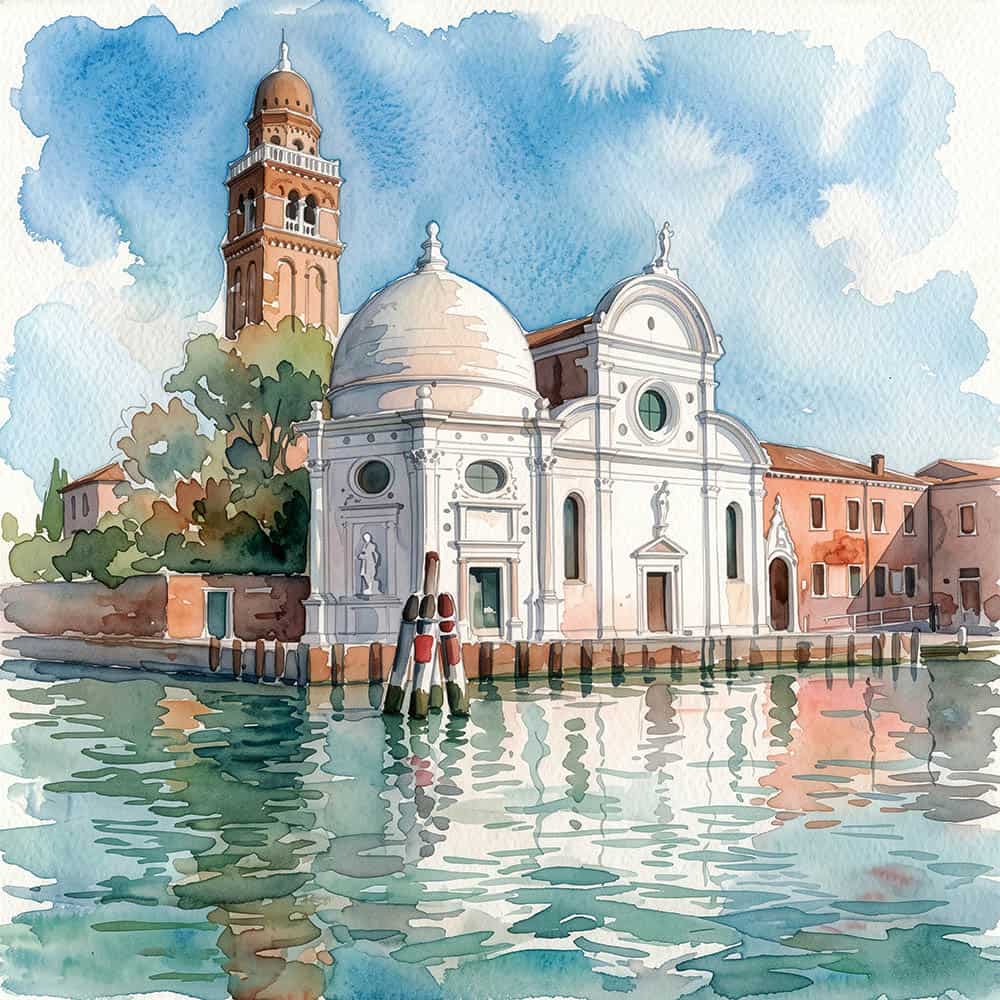
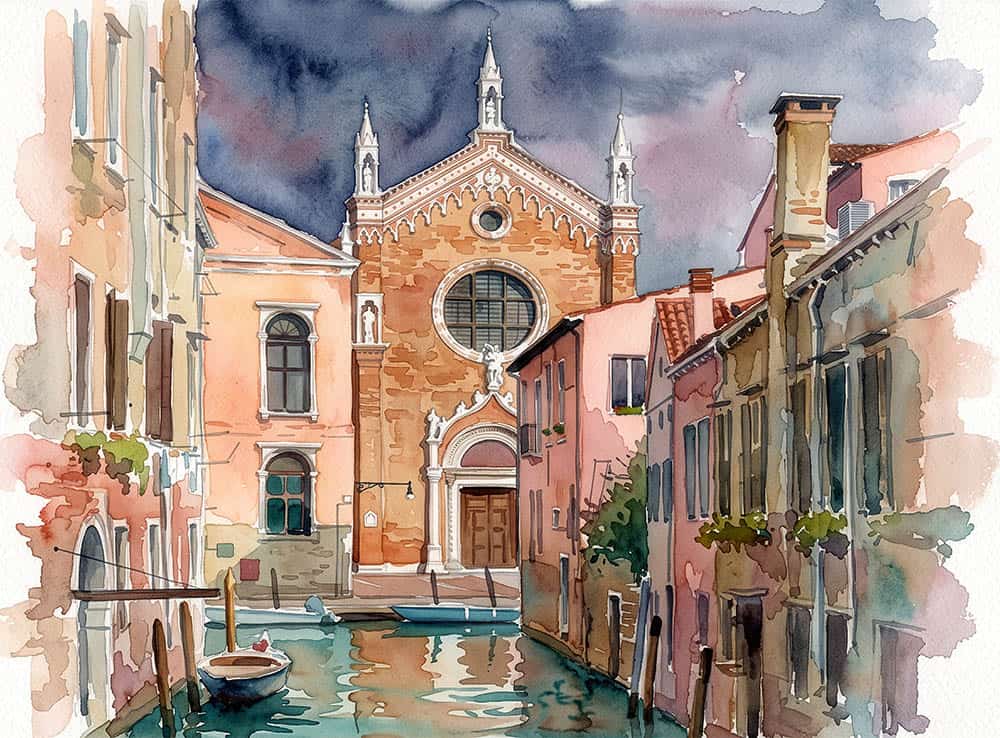
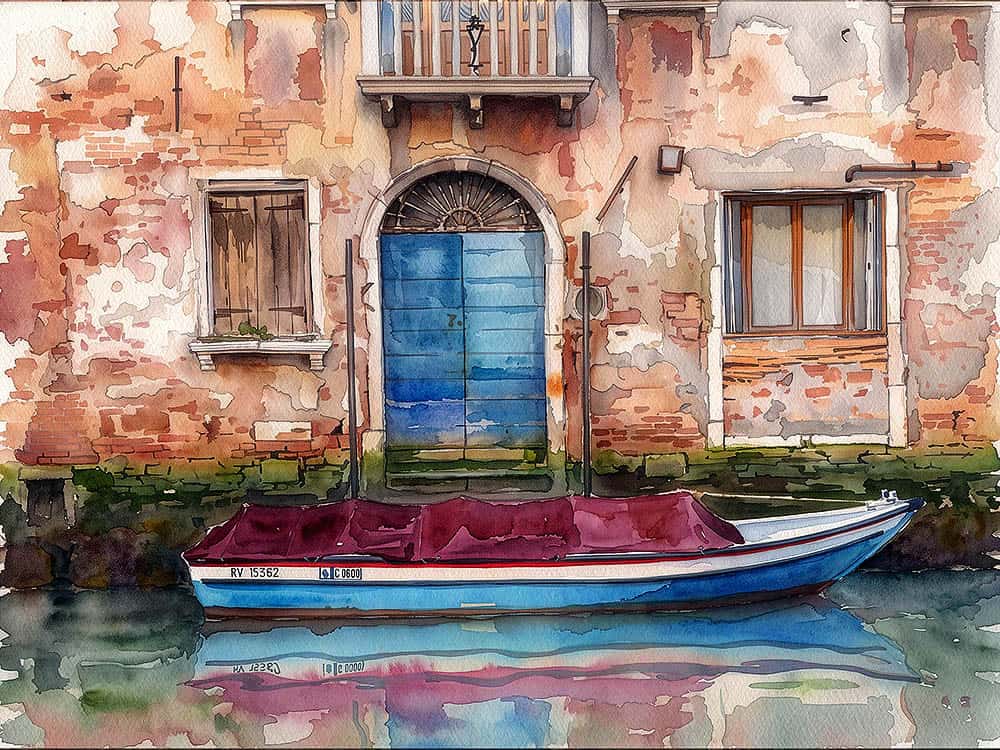
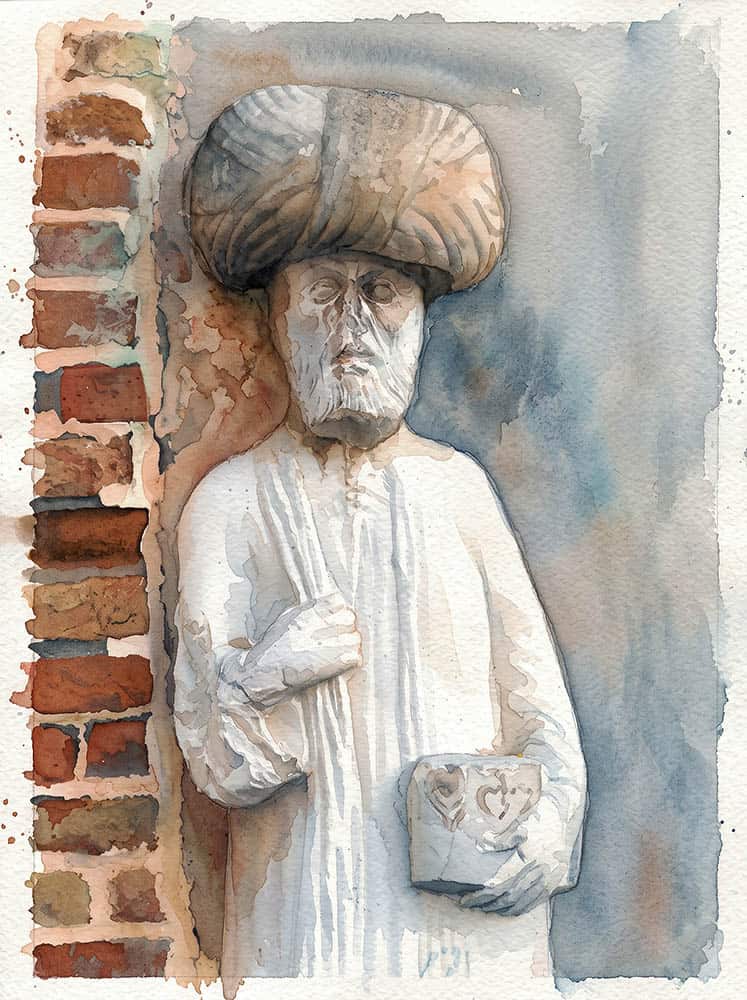
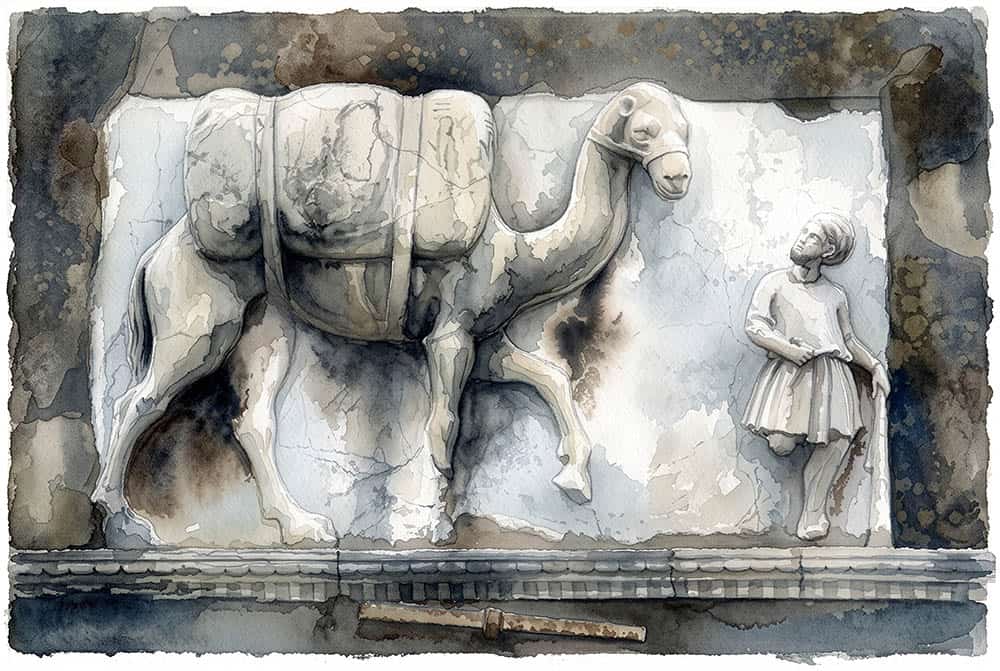
My AI Generated Watercolour Images of Cannaregio
In order to present a fair number of large images for appraisal, whilst avoiding too much scrolling down, I decided not to include “before and after images” or descriptive text. All of the original photographs are in my website galleries. In the links section below you can find my first delve into AI artwork, showing the original photographs with the generated derivatives.
Depicting Cannaregio in Watercolour Depicting Cannaregio in Watercolour Depicting Cannaregio in Watercolour
Links (internal–external)
AI-Generated photography is becoming commonplace – this post offers a link to my first foray into AI, that also covers: 1. Details about Firefly AI software and a summary of its main features. 2. The ethical concerns and frameworks surrounding the use of AI in photography. As AI continues to advance, these frameworks will likely focus even more on transparency, disclosure, provenance, verification, and accountability to maintain trust in what we see and believe.
Here are my photography-based blog posts:
- The Sottoporteghi of Venice
- Photographing Venice-Towards Minimalism-Part 1
- Photographing Venice-Towards Minimalism-Part 2
- Photographing Venice
- Venice – Developing a personal vision
- Depicting Venice – Ian Coulling
- Depicting Venice 2 – Ian Coulling
- Depicting Venice 3 – Ian Coulling
- Characters in Stone
- Photographing Venice – Transforming decaying walls into art
- Photographing Venice – Old Doors and Service Boxes
- Why I love Venice
A quick search revealed these alternative, free of charge software websites, that you might like to investigate, to transform your photos into stunning paintings.
- Photo to Painting: Turn Picture into Painting Online Free | Fotor
- Turn Any Picture Into a Painting Online For Free | Picsart
- Photo to Painting – Instantly Turn Your Photo Into a Painting BeFunky
- FotoSketcher – the 100% free program to turn photos into paintings
- Photo to Painting AI: Turn Photos Into Paintings Free Online – NightCafe
Cannaregio – District and Attractions Read all about this wonderful district.
The Strada Nova in Venice This busy thoroughfare in southern Cannaregio, links the Santa Lucia Railway Station to the Rialto Bridge. Formed by unifying older narrow alleys under a modern name, it didn’t exist in Venice’s Serenissima era. Created in the 19th century by the Austrians, it reflects their effort to introduce wide boulevards. Canals were filled and buildings demolished to create the wide thoroughfare; which is now lined with historic landmarks, shops, cafés, restaurants and markets stalls; often crowded with tourists.
Depicting Cannaregio in Watercolour Depicting Cannaregio in Watercolour Depicting Cannaregio in Watercolour